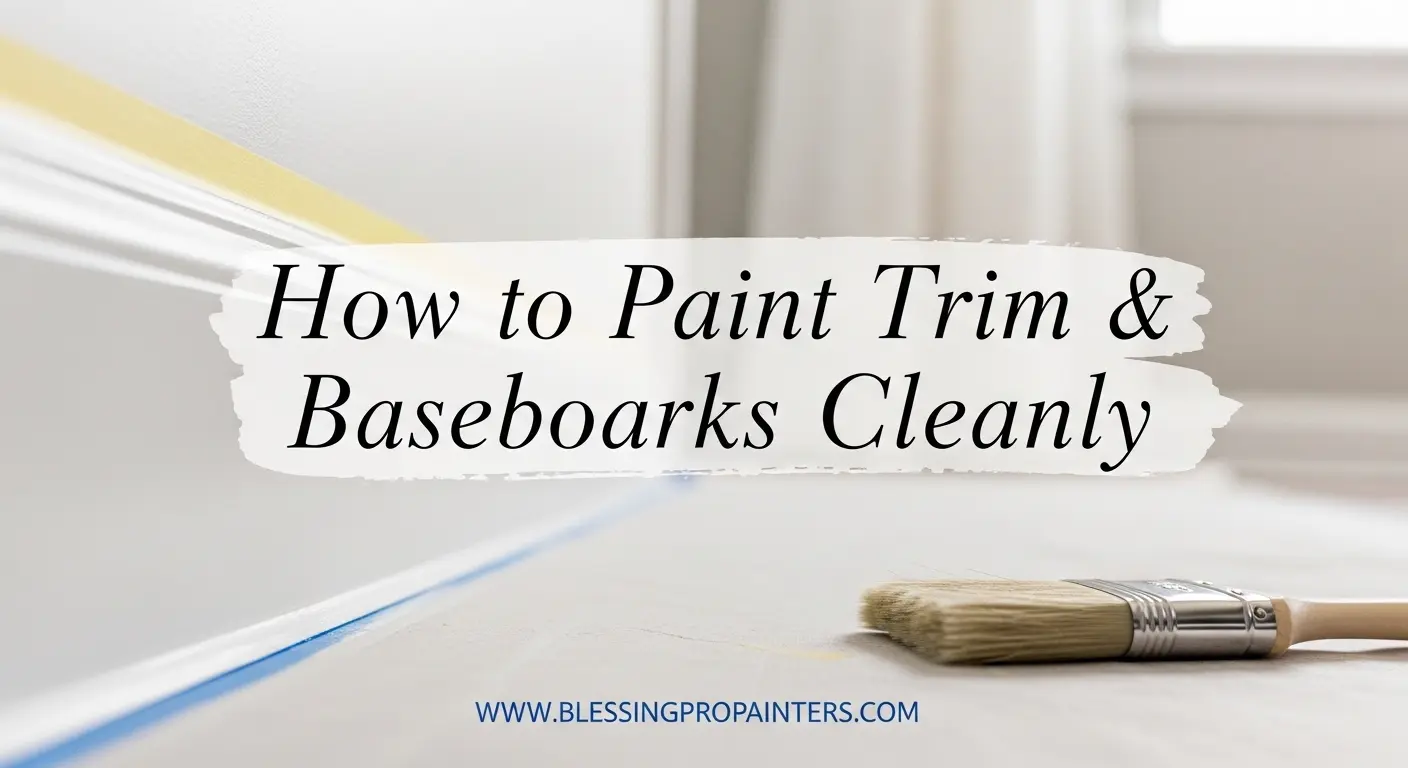
Painting trim and baseboards can seem daunting, but it’s the little details that make a house feel like a home. With the right technique and a bit of patience, you can achieve professional-quality results that will elevate your interior aesthetics. Let’s dive into the essential steps and tips to ensure your trim and baseboards look immaculate.
Essential Supplies for a Flawless Finish
Before you start, gathering the right supplies is crucial. Here’s what you’ll need:
- High-quality paint (preferably semi-gloss or high-gloss)
- Paintbrushes in various sizes (angled brushes work wonders)
- Paint roller and tray
- Painter’s tape
- Drop cloths or plastic sheeting
- Sandpaper (220 grit for smooth surfaces)
- Primer (if necessary)
- Cleaning supplies like soapy water or a damp cloth
- Caulk for filling gaps
Preparation: The Key to Success
Preparation is often overlooked, but it plays a pivotal role in how neat your final result will be. Follow these steps carefully:
1. Clean the Surface
Start by cleaning the trim and baseboards to remove dust, dirt, and grease. A simple mix of warm water and mild soap can work wonders. Ensure surfaces are dry before moving on to the next step.
2. Repair Any Damage
Inspect for cracks, dents, or imperfections. Use caulk to fill small gaps and a wood filler for larger holes. Sands these areas smooth once they are dry to ensure a seamless finish.
3. Tape Off Areas
To achieve crisp lines, apply painter’s tape where the trim meets the wall and floor. Press down firmly to prevent paint from leaking underneath.
Choosing the Right Paint
Selecting the right paint can significantly affect the final outcome. Here’s a breakdown of your options:
| Type of Paint | Finish | Best For |
|---|---|---|
| Latex Paint | Matte/Satin/Semi-gloss | Interior trim |
| Oil-based Paint | High-gloss | Durable finish for high-traffic areas |
| Water-based Paint | Gloss/Semi-gloss | Quick dry and easy cleanup |
For most trim and baseboard projects, a high-quality semi-gloss latex paint is often the best choice. It’s durable, easy to clean, and has a lovely sheen that enhances details.
The Painting Process: A Step-by-Step Guide
Now that you are prepped and ready, let’s get into the painting process.
1. Apply a Primer (If Necessary)
If you’re painting over a dark color or a stained surface, applying a primer can save you time and paint. Use a small brush or roller to apply a thin, even coat of primer, and let it dry completely.
2. Start with the Brush
Begin with the paintbrush, particularly for detailed areas and corners. Use an angled brush for precise application. Start painting from the top of the trim down to the bottom, ensuring you get into all the cracks and crevices. Apply thin coats to avoid drips and runs.
3. Use a Roller for Large Areas
Once you’ve covered the detailed areas, use a small roller for the flat spaces of the baseboards. It covers more ground and provides a smooth finish. Make sure to roll in the same direction as the wood grain.
4. Let It Dry and Assess
After the first coat has dried (usually a couple of hours), check for any missed spots or uneven areas. If necessary, apply a second coat for a uniform look. Two coats are often ideal for achieving rich color depth and coverage.
Finishing Touches: The Final Steps
Once your final coat is dry, it’s time to remove the painter’s tape. Do this carefully to avoid peeling any paint off with the tape. Here are a few finishing tips:
1. Remove Tape Carefully
Pull the tape away from the trim gently, at a 45-degree angle. This ensures clean edges.
2. Fix Any Mistakes
If there are minor imperfections where paint may have leaked, use a small artist’s brush to touch up any flaws. A little patience here goes a long way.
3. Clean Up and Care
Proper maintenance after painting is important. Clean your brushes and rollers with warm soapy water if you used latex paint, or follow the cleanup instructions for oil-based paints. Store any remaining paint in a cool, dry place for future touch-ups.
Maintenance Tips for Trim and Baseboards
Once your trim and baseboards are beautifully painted, maintaining them can extend the life and look of your work:
- Regularly dust and clean them with a damp cloth.
- Re-paint as necessary, typically every 3-5 years depending on wear.
- Repair any chips or scratches promptly to prevent further damage.
When to Hire Professionals
If the thought of DIY painting feels overwhelming, or if you are looking for a flawless finish without the hassle, consider reaching out to professionals. At Blessing Pro Painters, we specialize in painting trim and baseboards — ensuring that every detail is meticulously handled.
Conclusion: Elevate Your Home with Professional Results
Painting trim and baseboards can be a transformative project that significantly enhances your living space. With the right preparation, technique, and materials, you can achieve professional results that make your home feel inviting and polished. If you’re still unsure, remember that Blessing Pro Painters is here to help you bring your vision to life effortlessly. Get started today and make every corner of your home shine!