
When it comes to home improvement projects, painting cabinets can be a game-changer. Yet, for many DIY enthusiasts, choosing the right materials is crucial. Although particleboard cabinets have a notorious reputation for being tricky to work with, the truth is that with the right techniques, you can achieve stunning results without compromising their integrity. So, how can you paint these cabinets effectively without causing damage? Let’s dive into the step-by-step process you need to know.
Understanding Particleboard: The Basics
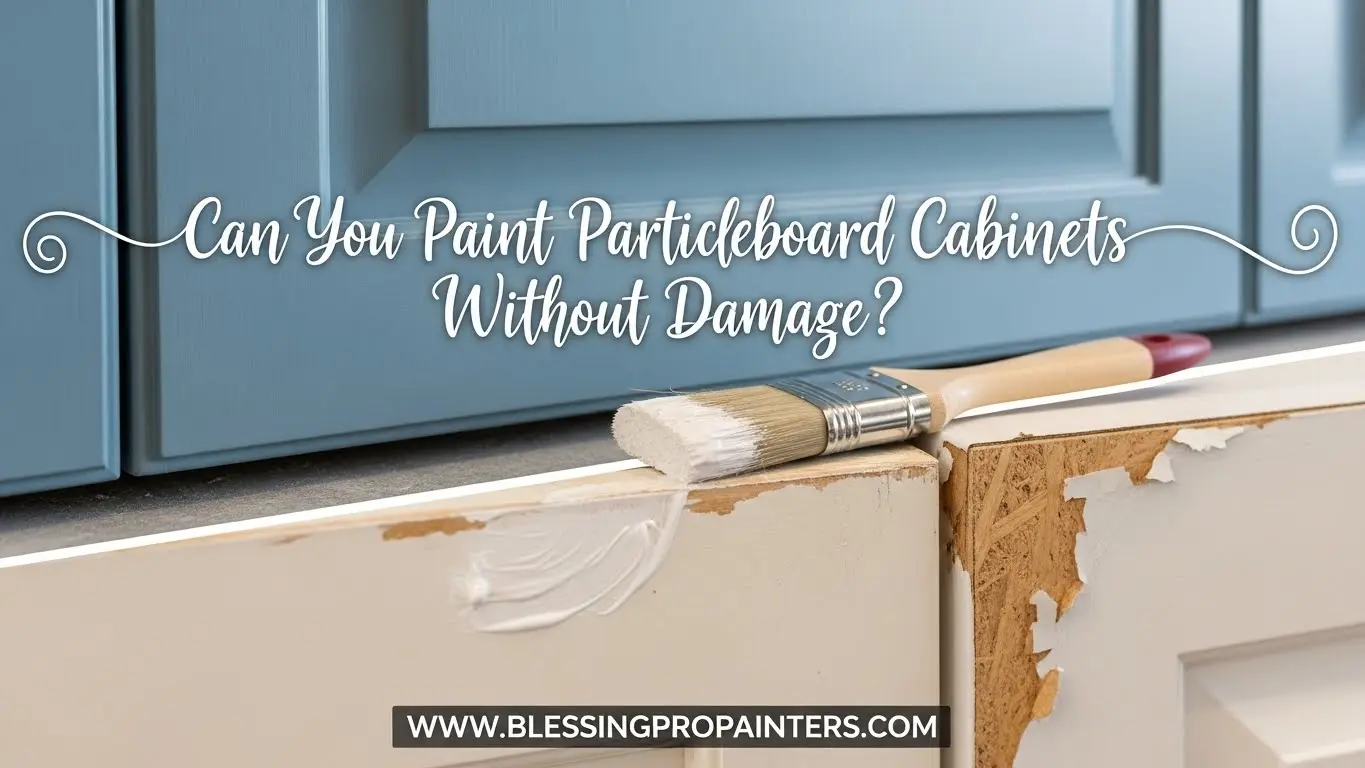
Particleboard is a widely used material in the furniture and cabinetry world due to its cost-effectiveness and versatility. Made from wood chips, sawmill shavings, and adhesives, it’s known for its smooth surface and affordability. However, its porous nature means that it can easily absorb moisture and paint, potentially leading to warping or peeling if not prepared properly.
Key Characteristics of Particleboard
- Cost-Effective: Often less expensive than solid wood alternatives.
- Easy to Shape: Can be manufactured to a variety of sizes and shapes.
- Moisture Sensitivity: Vulnerable to water damage if not sealed correctly.
- Surface Not Suitable for Direct Painting: Requires proper prep work for optimal results.
Why Paint Your Particleboard Cabinets?
Transforming your kitchen or bathroom with a fresh coat of paint on your particleboard cabinets can breathe new life into your space. A well-executed paint job can enhance your home’s aesthetic, increase its value, and make the space feel modern and inviting. Here are a few advantages:
- Aesthetic Appeal: Choose a color that complements your decor.
- Cost-Effective Update: A fraction of the cost of replacing cabinets.
- Easy to Change: Paint can be redone as trends change.
Preparing Your Particleboard Cabinets for Painting
Preparation is the most crucial step in this process. Skipping even a minor detail can lead to disastrous results such as chipping or peeling paint. Here’s how to prepare your cabinets:
Step-by-Step Prep Process:
- Remove Hardware: Unscrew knobs, handles, and any other fixtures.
- Clean Thoroughly: Use a degreaser to remove dirt and oils. Ensure the surface is spotless.
- Sand the Surface: Lightly sand to create a rough surface for better adhesion. Use fine-grit sandpaper to avoid damaging the wood.
- Apply a Primer: Choose a high-quality primer designed for laminate surfaces. This acts as a barrier between the paint and the board.
Choosing the Right Primer
Opt for an oil-based primer or a shellac-based primer for particleboard. These types of primers adhere better to non-porous surfaces and help lock the moisture in, preventing damage.
Painting Particleboard Cabinets
Once your cabinets are prepped, the real fun begins! Painting can revitalize your space but requires careful attention to detail.
Steps for Painting:
- Select Quality Paint: Use either a latex-based or oil-based paint with a satin or semi-gloss finish.
- Use a Brush and Roller: For a smooth finish, start with a brush for edges and corners, then use a roller for larger flat surfaces.
- Apply Multiple Coats: Thin, even coats are better than one thick one. Allow full drying between coats, typically at least 24 hours.
- Sand Between Coats: Sand lightly with fine-grit paper between each coat for better adhesion.
Top Painting Tips
- Work in a Well-Ventilated Area: This ensures quicker drying times and minimizes fumes.
- Use Quality Brushes: A high-quality brush can make a significant difference in the finish.
- Don’t Rush: Patience is key—allow ample time for curing and drying.
Finishing Touches: Sealant and Hardware
After the final coat of paint has dried, it’s beneficial to apply a sealant to protect your painted cabinets from wear and tear.
Applying a Sealant:
- Choose a High-Quality Sealant: Look for a clear polyurethane or polycrylic sealant.
- Apply with a Clean Brush: A thin layer is usually adequate—too much can cause cloudiness.
- Allow to Cure: Let it cure for at least 24 hours before reinstalling hardware.
The Final Step: Reinstalling Hardware
Once everything has cured, it’s time to reinstall your cabinet hardware. Choose new knobs or handles to complement your freshly painted cabinets for an updated look.
Frequently Asked Questions
Can I Paint Over Old Paint?
Yes, but it’s essential to ensure that the old paint is not peeling or cracked. Properly sand and clean the surface before applying a primer and new paint.
How Long Will a Painted Finish Last on Particleboard?
With proper preparation and execution, a painted finish can last several years. Regular maintenance will help enhance its longevity.
When to Consider Professional Help
DIY projects can be immensely satisfying, but they may not always go as planned. If you feel overwhelmed at any step, consider reaching out to painting professionals. With our expert services at Blessing Pro Painters, we provide top-notch solutions tailored to your cabinetry needs, ensuring a flawless finish.
Signs You Should Hire a Professional:
- Time Constraints: If you don’t have sufficient time to dedicate to the project.
- Lack of Experience: If you’ve never tackled a project of this level.
- Complex Designs: Exquisite cabinetry may require professional finesse for intricate details.
Conclusion
Painting particleboard cabinets is an achievable goal for anyone willing to put in the effort. With meticulous preparation, quality materials, and the right techniques, you can create stunning results without damaging the underlying structure. If you’re ready to refresh your space with a painted cabinetry transformation, remember to consider professional options for the best outcome. Reach out to Blessing Pro Painters for all your painting needs in North Wilkesboro and the surrounding communities. Unlock the potential of your cabinets today and enjoy a revitalized home environment!


