
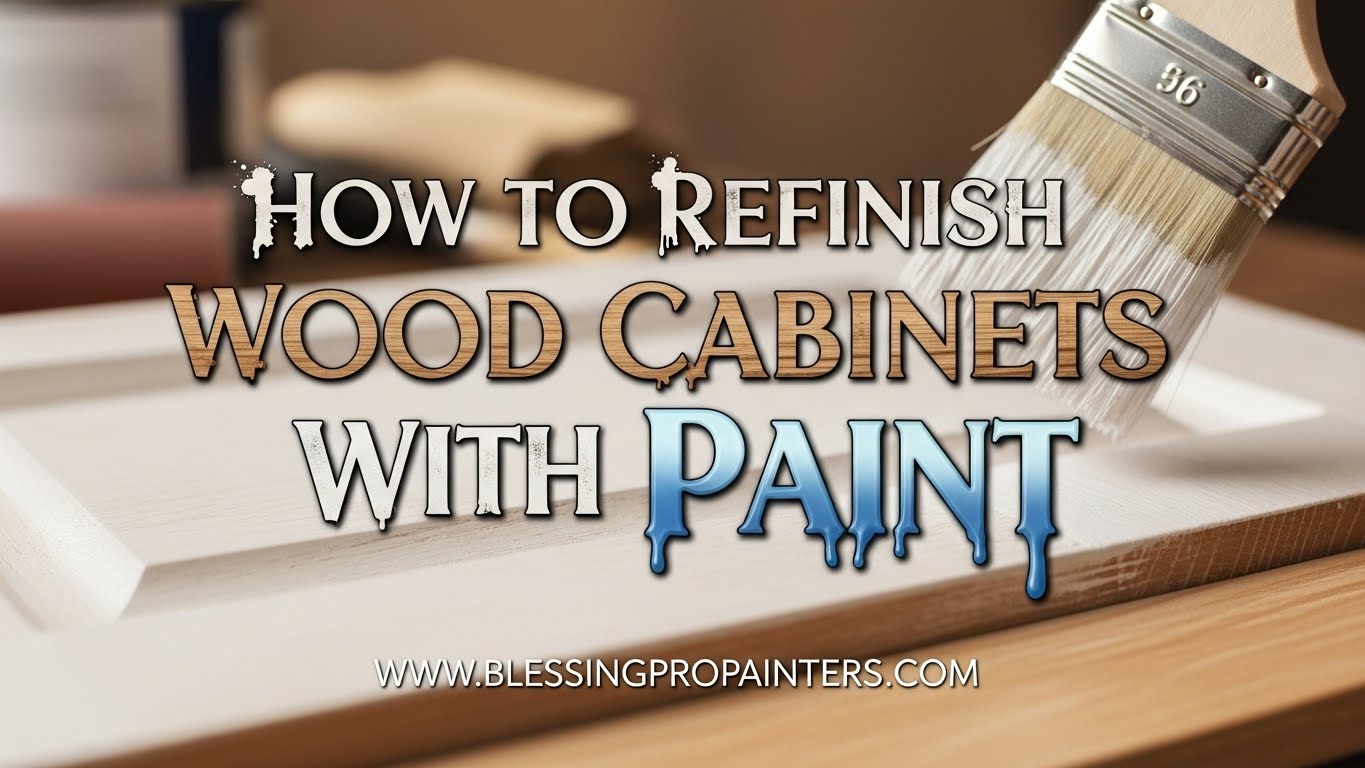
Are your wood cabinets looking tired or outdated? Refinishing them with paint can breathe new life into your kitchen, enhancing the overall aesthetic and functionality of your space. This guide explains the step-by-step process of refinishing wood cabinets with paint, ensuring a professional-looking finish. Whether you’re a DIY enthusiast or a novice, this comprehensive approach will help you achieve stunning results
Understanding the Basics of Cabinet Refinishing
Refinishing wood cabinets involves more than just slapping on a coat of paint. It requires preparation, the right products, and techniques to ensure longevity and durability. The first step is understanding the type of wood cabinets you are working with, as this will influence your choice of paint and prep methods. Familiarize yourself with the various types of wood and previous finishes that may be on your cabinets.
Materials Needed for Refinishing
Gathering the right materials is essential for a successful refinishing project. Here’s a checklist to get you started:
- Sandpaper (80-grit and 220-grit)
- Paint scraper or putty knife
- Cleaning solution (like TSP or vinegar)
- Primer (adhesion primer recommended)
- Paint (water-based acrylic or latex is ideal)
- Top coat (polyurethane or a water-based equivalent)
- Paintbrushes and/or a roller
- Drop cloths or plastic sheeting
- Masking tape
Step-by-Step Process to Refinish Wood Cabinets
Step 1: Remove Cabinet Doors and Hardware
Begin by removing all cabinet doors, drawers, and hardware. Label each door and its corresponding hardware to make reassembly easier. Place all components in a designated area to avoid misplacement.
Step 2: Clean the Cabinets
Before you start sanding or painting, it’s crucial to clean the cabinets thoroughly. Use a gentle cleaning solution with warm water to remove grease, grime, and other residues. Let them dry completely before moving on to the next step.
Step 3: Sand the Surface
Sanding is vital for achieving a smooth finish and ensuring that the paint adheres properly. Start with an 80-grit sandpaper to remove the existing finish, then transition to 220-grit sandpaper for a finer finish. Ensure you sand along the grain of the wood. After sanding, clean up any dust with a damp cloth.
Benefits of Proper Sanding:
- Improved paint adhesion
- Enhanced smoothness
- Elimination of old coatings
Step 4: Apply Primer
Priming is essential not just for adhesion but also for providing a uniform base for your paint. Choose an adhesion primer specifically designed for cabinets. Using a paintbrush or roller, apply a thin, even coat of primer. Fair warning: don’t rush this step. A well-primed surface lays the foundation for a stunning finish.
Step 5: Painting the Cabinets
Once the primer is completely dry, it’s time to paint. Opt for a high-quality water-based acrylic or latex paint in your desired color. Using a brush for edges and a roller for large areas generally yields the best results.
Painting Tips:
- Apply several thin coats rather than one thick coat to avoid drips and runs.
- Allow ample drying time between coats as per the manufacturer’s instructions.
- Lightly sand between coats for an ultra-smooth finish.
Step 6: Finishing Touches with a Top Coat
Once your final coat of paint is completely dry, it’s time to protect your hard work with a top coat. This layer safeguards against scratches and stains, ensuring the longevity of your cabinets. Choose a top coat that complements the type of paint you selected.
Top Coat Application Tips:
- Use a foam roller for the best finish.
- Apply in a well-ventilated area for faster drying.
- Consider applying two thin coats for added protection.
Reinstalling Doors and Hardware
After the top coat is completely cured, reattach your cabinet doors and drawers. Use the labels you created earlier to make this process as seamless as possible. Take a moment to admire the transformation of your kitchen; it can be quite gratifying!
Maintenance Tips for Your Newly Painted Cabinets
To ensure your newly refinished cabinets remain in optimal condition, follow these maintenance tips:
- Wipe down surfaces regularly with a damp cloth.
- Avoid harsh chemicals that may damage the finish.
- Refrain from placing hot items directly on the surface.
Common Mistakes to Avoid
While refinishing cabinets can be a fun and rewarding DIY project, several common pitfalls can disrupt your efforts:
- Skipping the sanding process, which can lead to poor paint adhesion.
- Applying thick coats of paint, resulting in drips and uneven coverage.
- Forgoing the top coat, which leaves your cabinets vulnerable to damage.
Conclusion: Elevate Your Space with Confidence
Refinishing wood cabinets with paint is an excellent way to revamp your kitchen without breaking the bank. With the right materials and methods, you can achieve a beautiful finish that can last for years. For those who may find the project daunting, professional help is always an option. Our Painting Company is here to assist you in transforming your space with ease. If you’re located in North Wilkesboro or the surrounding communities, reach out to us today! Discover more of the services we offer at Blessing Pro Painters.
Take the first step towards a stunning kitchen makeover. Whether you choose to do it yourself or enlist our professional services, the results will undoubtedly elevate your home’s style and comfort.


